If you have managed to successfully install Microsoft Office 97 onto your Windows 10 computer, and have followed my previous guide on how to get the Clip Art Gallery working then you (like myself) probably felt a little deflated when you opened it up to find only a meagre 79 clips.
In this guide I will show you how to end up with over 3,000 clips for free, complimentary of Microsoft themselves without the requirement for any dodgy downloads or needing to manually catalogue each clip.
The Problem
The problem we are trying to fix in this guide is simple, not enough clips! And let’s be honest if you’ve got this far and gone to this much trouble to get Clip Art working under Windows 10 you’ll probably want all the clips you can get, right?
Assumptions/Prerequisites
The following assumptions are being made:
- You are using either Windows 10 build 1809 or 1803
- The version of Windows you are using is of 64-bit architecture
- You have installed Office 97 and selected the Clip Gallery and Popular Clipart options
- You have installed Office 97 with one or more applications enabled: Word, Excel, PowerPoint, Publisher
- At time of installation you left the installation location to its default path of C:\Program Files (x86)\Microsoft Office
- You have administrative rights over your PC
- You have the original Office 97 Standard CD-ROM (or a disc image of the CD-ROM)
The Fix
These instructions should, once completed, change the behaviour of the Clip Gallery in all Microsoft Office programs that support Clip Art. We are simply using Microsoft Word as the default example.
- Open File Explorer by launching it from the task bar or by clicking Start and typing This PC
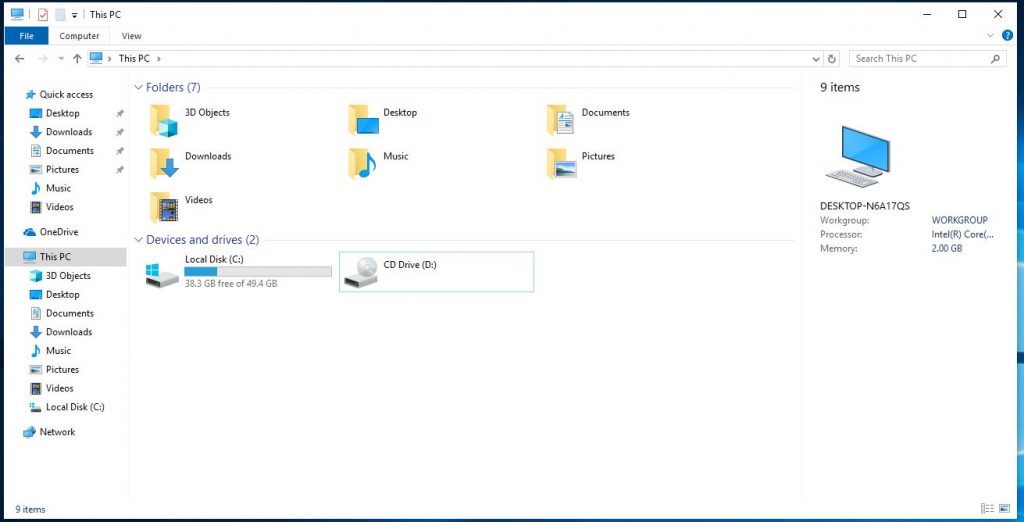
- Insert (or mount if using a disc image) the Office 97 Standard CD-ROM. Open the CD-ROM’s contents in Explorer by right clicking the CD-ROM device in This PC and then choosing Open from the context menu.

- Open the folder CLIPART. Using your keyboard and mouse, hold SHIFT and then left-click on the first folder (Bullets). While still holding the SHIFT key click on the last folder SCRBEANS.

- With these folders selected either press CTRL + C on your keyboard or right-click on a selected folder and choose Copy from the context-menu.

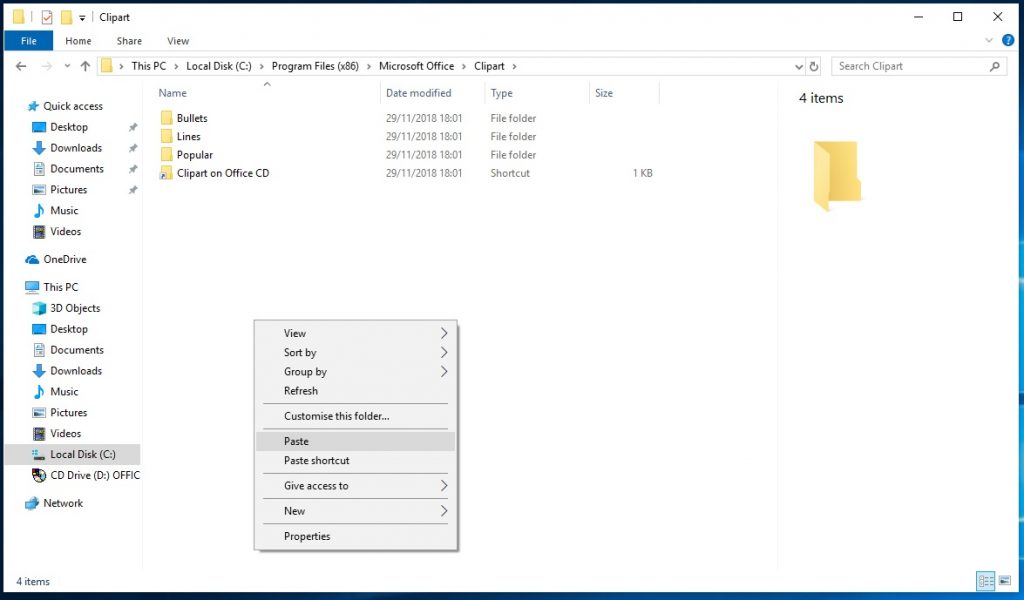
- Click on the Local Disk (C:) option from the left-hand pane in Explorer, then drill down the folder structure by opening Program Files (x86) and then Microsoft Office then Clipart. In a white space right-click and choose Paste from the context-menu.
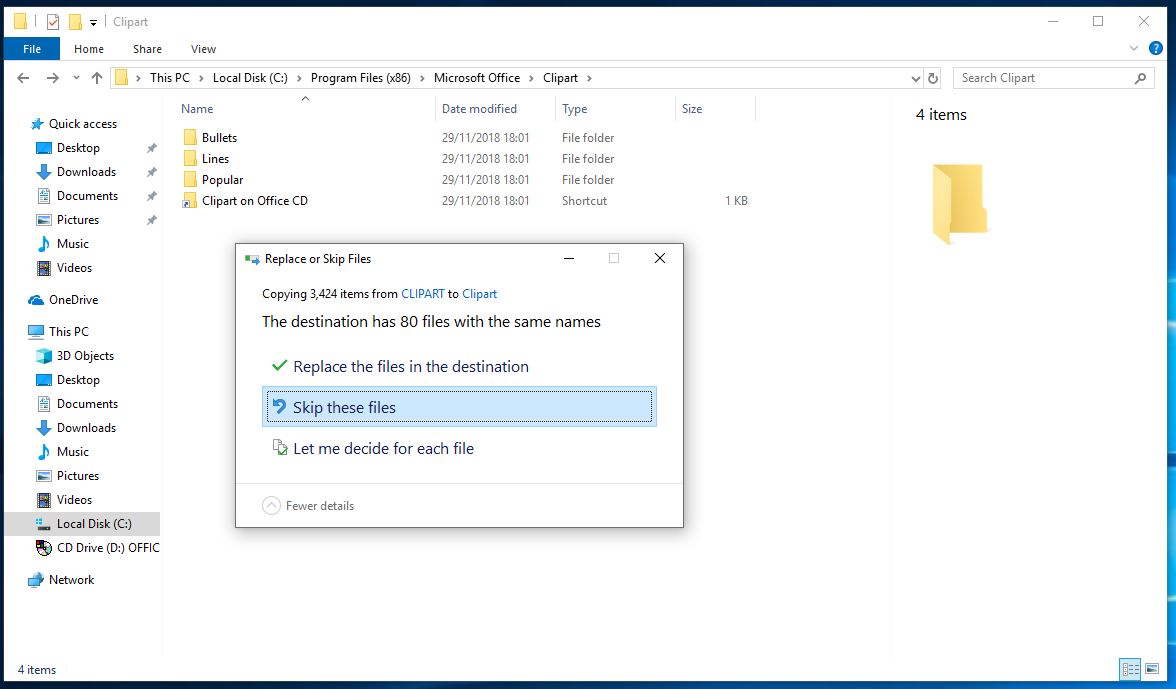
- Explorer will then begin to calculate the amount of files it needs to copy. It will identify 80 duplicate files (which are the 79 clips you see already, plus 1 CAG file), choose the option Skip these files.

- You will then be asked to give Administrator Permission to complete the copy process. Tick the Do this for all current items checkbox and then click on the Continue button, you may be asked to enter the credentials of an administrator account.

- Explorer will now begin to copy the files across from the CD-ROM to your local disk drive. This process may take a few minutes depending on the speed of your hard disk drive and if you are using a CD-ROM or a disc image as the source for the copy.

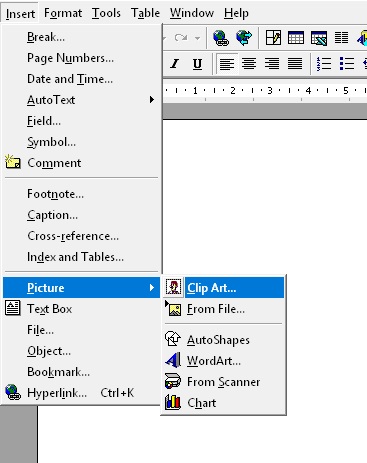
- With the copy completes, open Microsoft Word 97. Open the Clip Gallery by choosing Insert then Picture and finally Clip Art from the menu bar.
- Don’t be disappointed, when you open up Clip Gallery it will still only show 79 items. However we now need to import the additional 4,000 clips in. Click on the Import Clips button.

- The Add clip art to Clip Gallery dialog box will then appear. Change set the Files of type drop-down to Clip Gallery Packages (should be last in the list) and then click the directory level up button (folder with an arrow pointing upwards) – you should now be in the Clipart folder.

- Open the folder OFFICE and select the only CAG file present. Click Open to load the file into Clip Gallery, you should then receive a message confirming the package has been added to the Clip Gallery and that you will need to quit and restart the Clip Gallery to view the new items.

- Click OK to dismiss the confirmation message. and then close the Clip Gallery by choosing the Close button. Re-open the Clip Gallery (Insert then Picture and finally Clip Art).

- You should now see that you have 2079 clips available under the Clip Art tab. You can add more content by clicking Import Clips and adding the CAG files found in the folders PHOTOS, POWERPNT and SCRBEANS (closing and re-opening Clip Gallery with each action). Under the Pictures tab you should have 144 items. The Sounds and Videos tabs will likely still show 0 items. You can increase this number by importing the CAG file under MMEDIA however you will find at the moment you are unable to preview or insert any of these items.


Summary
If you have followed the above steps you should now have just over 3,000 additional clips in your Clip Gallery. More clips could be added from later versions of Office if they have the .CAG file present, or from third party compilations.
What is nice is that because clip art uses mostly vector technology, the clips can scale to the large HD resolutions that we operate today without corruption or degradation of quality.
Although it is a shame that at the moment I cannot get the audio-clips or video-clips to operate – the 3,000 clips should certainly keep any one keen on a nostalgia trip happy for some time.
Explanation of Fault
Around the time that Office 97 was released, hard disks were still on the small size in comparison to today’s 100’s if not 1000’s of terabytes of storage. For this reason many items of computer software (including video games) would often keep a lot of their media assets (such as graphics, videos and sound files) on the CD-ROM, instead of copying the content to the local hard disk drive. This would mean that for some of these items of software to operate, or for the user to experience the full feature set of an application (such as Microsoft Office) they would need to keep the CD-ROM handy or in their CD-ROM drive during use.
Although when you consider that the content we have copied here only amounts to a measly 86.7 MB (on disk) – this could be considered a serious amount of free space lost for most computer users in 1997.
There really isn’t any further explanation needed as to why Office 97 included (by default) such a small amount of clips – it was simply a design choice to reflect the needs of users at the time.